
Reducing Water Wastage with a Cheap DIY Project
Although this summer was not quite as hot as previous summers, Australians are constantly being urged to reduce their water consumption. If you are looking for a home DIY project that will save you money, consider installing a water-saving showerhead. Water shortages throughout Australia have caused local councils to enforce tough water usage policies. Water restrictions include limits on lawn watering and water use for washing windows and cars. Many councils have handed out water-timers and special shower heads, and have encouraged residents to cut their shower times.
As inconvenient as it is, we do all need to reduce our water consumption if we want to conserve water. We should be promoting innovative solutions to the problems created by our growing population and limited water supply. If we fail to do this, then we will end up having to paying much more for water and we will suffer increasingly restrictive water policies.
Water desalination plants are now helping with the water shortage issue, but by taking our own proactive steps, we can do our bit to help. You can reduce water wastage by installing a water-efficient showerhead as a home DIY project.
How to install a water-saving shower-head:
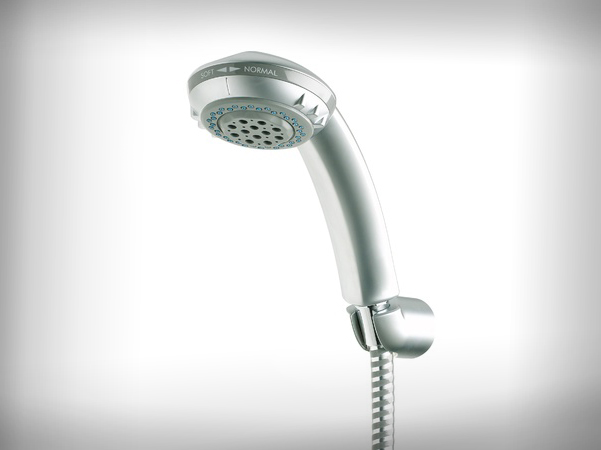
- Purchase a water-saving showerhead this will be clearly marked on the packaging. If in doubt, check with your plumber or tap retailer.
- To ensure a safe work environment, put a non-slip mat on the floor of your shower area.
- If you are replacing a hand-shower fitting, you will need to remove the hose first
- Remove the old showerhead manually or with the help of a shifting spanner if necessary, using a cloth to protect the tapware from being scratched.
- Using steel wool, clean the thread area well, and ensure that it is thoroughly dry.
- Wind around 6 layers of Teflon tape firmly around the shower thread. To create the tension needed to ensure a tight fit, this is ideally done in a clockwise direction against the roll.
- Screw the new shower head on. If for whatever reason you need to unscrew it, the Teflon tape seal will be broken and will need to be re-applied.
- If you are replacing a hose fitting, screw on the wall fitting first and then the hose fitting.
- Should you are installing a hi-lo arm, ensure that the swivel knobs are tightened, ensuring that it sits firmly upright.
- Finally, test your new shower-head. If there are any leaks, remove the head, dry the thread, replace the Teflon tape and screw the shower-head back on.
- Should you encounter any problems or detect any leaks within your shower system, consult a trades-person (because a poorly installed shower-head that leaks WILL NOT reduce water wastage)
Not only will you save a little money on your water bills, but you will help to reduce water wastage, helping to bring about long-term water security in Australia. DIY Blog
For the latest in Bathroom designs, water-saving fittings and bathroom renovations, visit https://cabinetmakersperth.net.au/
Do you have a concern regarding the state of your bathroom? Perhaps you have mould? For a professional bathroom moisture test and building inspection in Perth, visit: Building Inspections Perth


